
Flossing made easy with the right steps and tools
If you’ve been told to floss but never felt confident doing it, you’re not alone. Here’s a clear, evidence‑based way to choose a tool and clean between your teeth without guesswork.
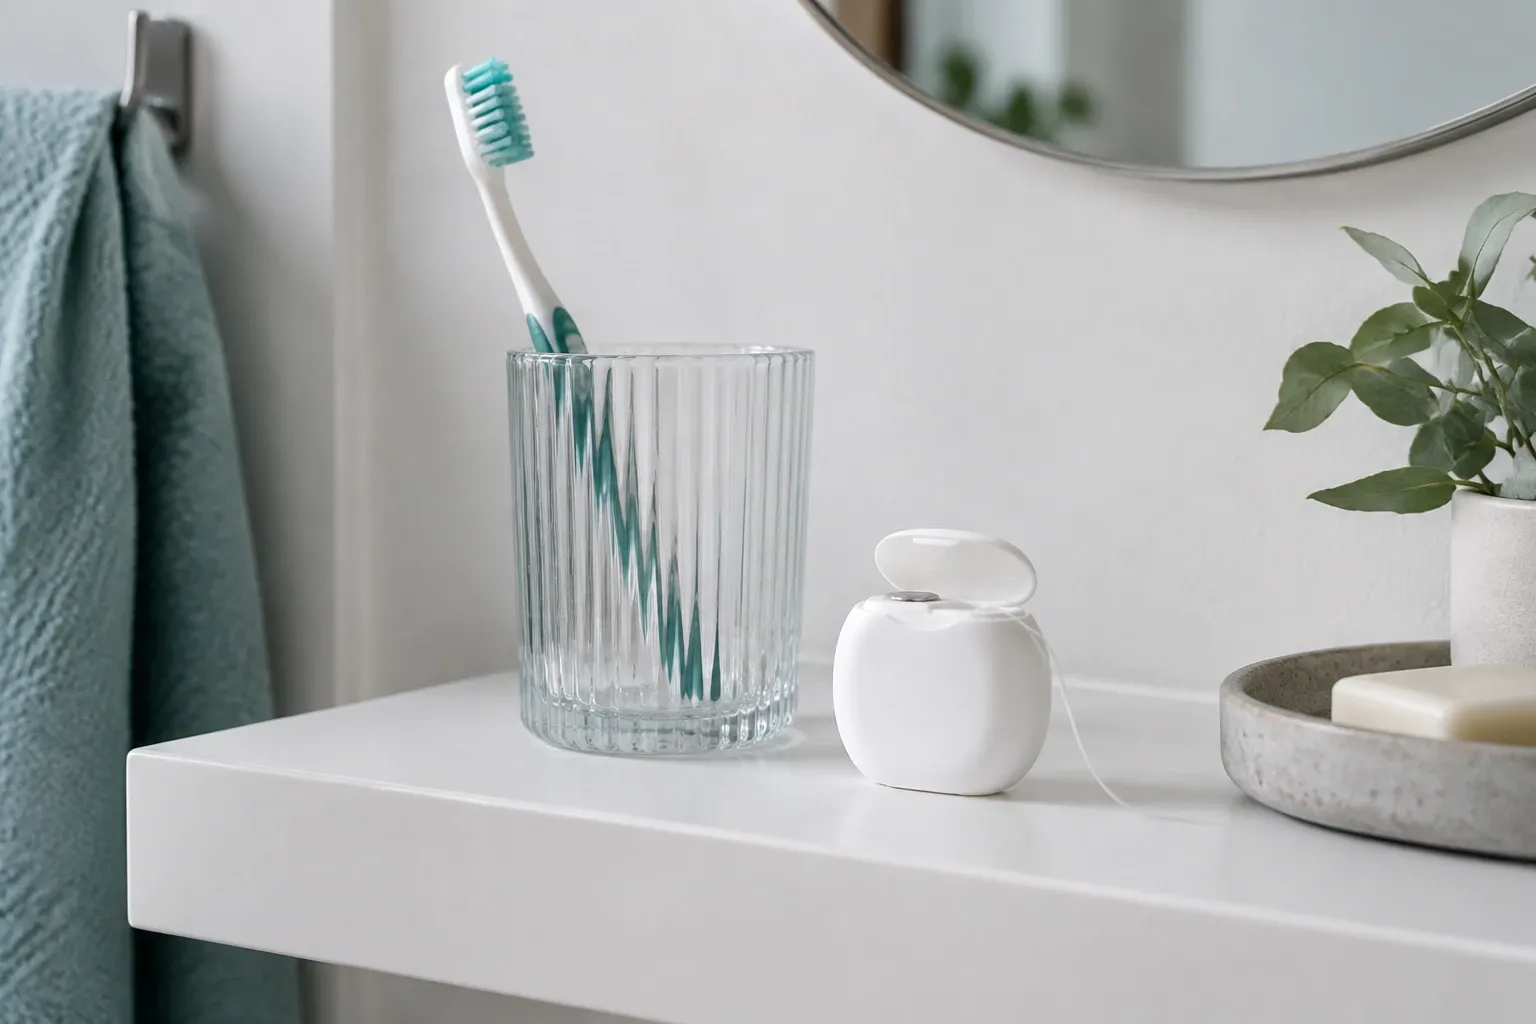
You brush every day, but food and plaque still hide where bristles can’t reach. That’s where flossing and other “between‑teeth” tools come in. Below, you’ll learn what flossing actually does, how to pick the tool that fits your mouth, and the exact steps to use it comfortably. We also explain how often to floss and how to tell it’s working, with links to independent sources you can check anytime.
What does flossing actually do for your mouth?
Plaque hides between teeth where brushes can’t fully reach. Cleaning these tight spaces daily helps control plaque and support gum health, alongside brushing and regular checkups, according to the CDC’s adult oral‑health tips (CDC). The American Dental Association (ADA) likewise encourages daily between‑teeth cleaning with floss or other interdental tools to disrupt plaque before it hardens (ADA oral‑health topic).
Which tool should you use between your teeth?
- Tight contacts or normal gaps: traditional waxed or unwaxed string floss works well and is widely available. Look for the ADA Seal on products to know they’ve shown safety and plaque/gingivitis reduction when used as directed.
- Larger spaces, dental work, or gum recession: small interdental brushes may remove more plaque than floss in these wider gaps, based on a systematic Cochrane review of home interdental devices (Cochrane review, 2019).
- Trouble using string (dexterity issues, braces, implants): a powered water flosser (oral irrigator) is a practical alternative that can reduce gingivitis compared with brushing alone, though results vary by device and technique (Cochrane summary).
If you’re weighing options, ask your dentist which tool fits your mouth and habits—and remember the goal is daily plaque removal, not one specific gadget.
Step‑by‑step: how to floss with string without hurting your gums
Follow this gentle technique adapted from ADA patient guidance (ADA MouthHealthy):
- Tear off about 18 inches. Wind most around your middle fingers; pinch a 1–2 inch section between thumbs and index fingers.
- Guide the floss between teeth with a gentle back‑and‑forth motion—don’t snap.
- Curve it into a C against one tooth. Slide up and down from just under the gumline to the chewing edge.
- Switch to the neighboring tooth with a fresh section and repeat.
- Don’t forget the backs of your last molars on top and bottom.
Tip: if your floss shreds, try a different type (waxed, tape, or polytetrafluoroethylene/PTFE) or ask about interdental brushes for that space.
How to use interdental brushes or a water flosser
- Interdental brush: choose a size that fits snugly without force; insert gently and move in and out a few times for each space. Larger spaces may need a larger brush, smaller gaps a smaller one. Evidence suggests these brushes can be more effective than floss in wider spaces.
- Water flosser: lean over the sink; set to low at first; aim along the gumline and pause briefly between teeth. They’re useful around braces, bridges, and implants.
How often should you floss—and when in your routine?
Clean between your teeth once a day; the time of day is up to you, says the CDC. The ADA notes there’s no single correct order for brushing and flossing; consistency matters most. Many people like to floss before bed or before brushing so fluoride can coat freshly cleaned sides.
What if flossing feels painful or gums bleed?
Go gently—pressing too hard can injure tissue. Mild bleeding the first few days can signal inflamed gums that improve with consistent cleaning. But ongoing bleeding, swelling, bad taste, or loose teeth means it’s time for a dental visit, per CDC advice (CDC patient handout). If breath issues are part of the picture, learn about common bad breath causes you can address.
How do you know it’s working?
- Your gums look pinker and bleed less over 1–2 weeks.
- You feel less “stuck” food after meals.
- Dental checkups show less plaque and tartar building between teeth.
Keep floss or your chosen tool where you’ll use it daily, and pair it with brushing and regular checkups to protect your mouth. For broader habits that keep your mouth healthy, see our overview on keeping teeth and gums healthy. If certain teeth twinge when you clean them, our explainer on tooth sensitivity can help you sort out what’s normal and what needs care.
Frequently asked questions
Do I have to floss if I use an electric toothbrush?
Yes. Even the best toothbrush can’t fully reach the tight spaces between teeth. Cleaning between your teeth daily—using string floss, interdental brushes, or a water flosser—helps remove plaque your brush leaves behind, according to the CDC and ADA guidance.
Is it better to floss before or after brushing?
It’s your choice. The ADA notes there’s no single correct order; what matters is doing both thoroughly every day. Some people prefer flossing first to expose more tooth surface to fluoride; others floss after to clear loosened debris.
What if my gums bleed when I start flossing?
Mild bleeding the first few days can happen if gums are inflamed, but it should ease as plaque is removed. Persistent bleeding, pain, or swelling is a reason to see a dentist to check for gingivitis or other problems.
Are water flossers as good as string floss?
They’re a good option, especially if you find string hard to use or have braces. A Cochrane review suggests interdental tools (including brushes and oral irrigators) can reduce gingivitis and plaque more than brushing alone, with interdental brushes often outperforming floss for larger spaces.
How much floss should I use?
About 18 inches lets you wind most around your middle fingers and work with a clean 1–2 inch section between thumbs and index fingers on each tooth, following the ADA’s step‑by‑step technique.
In this section Dental Health